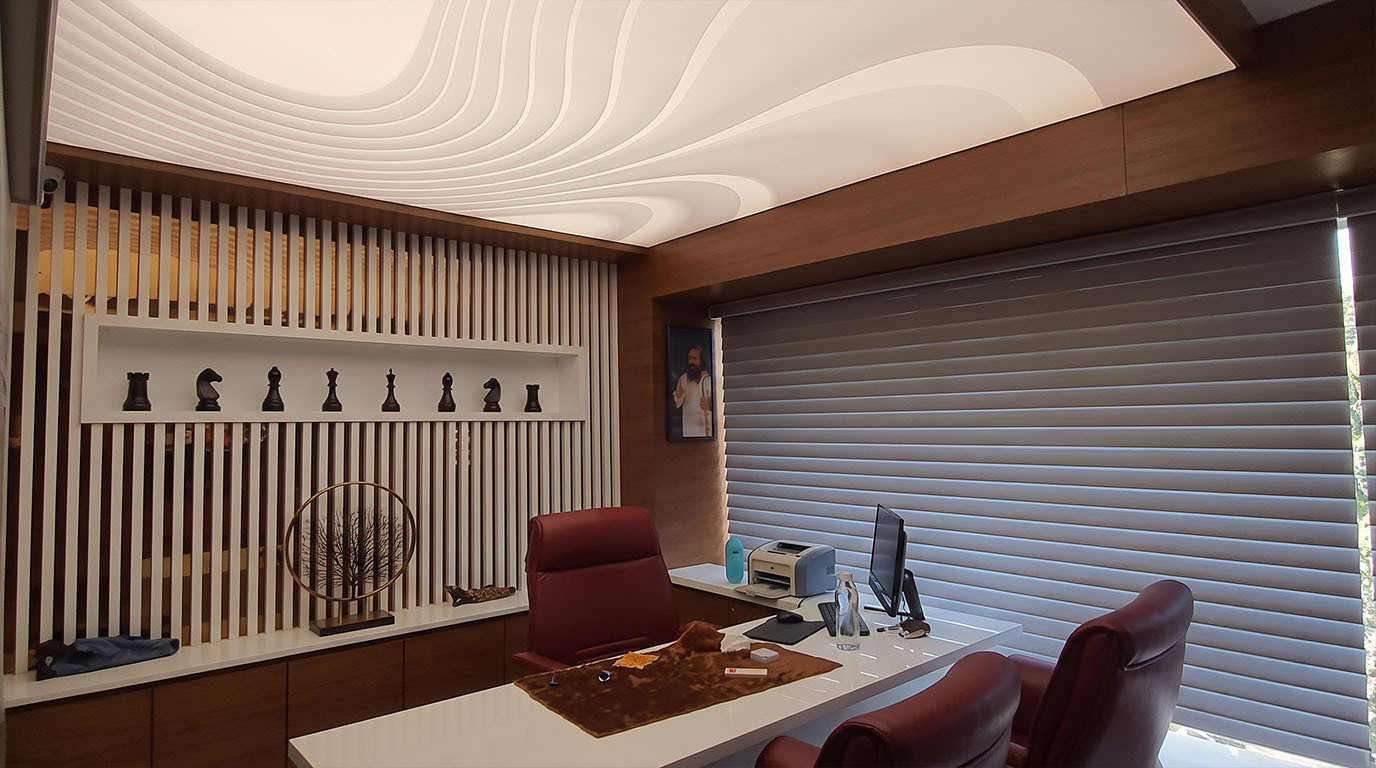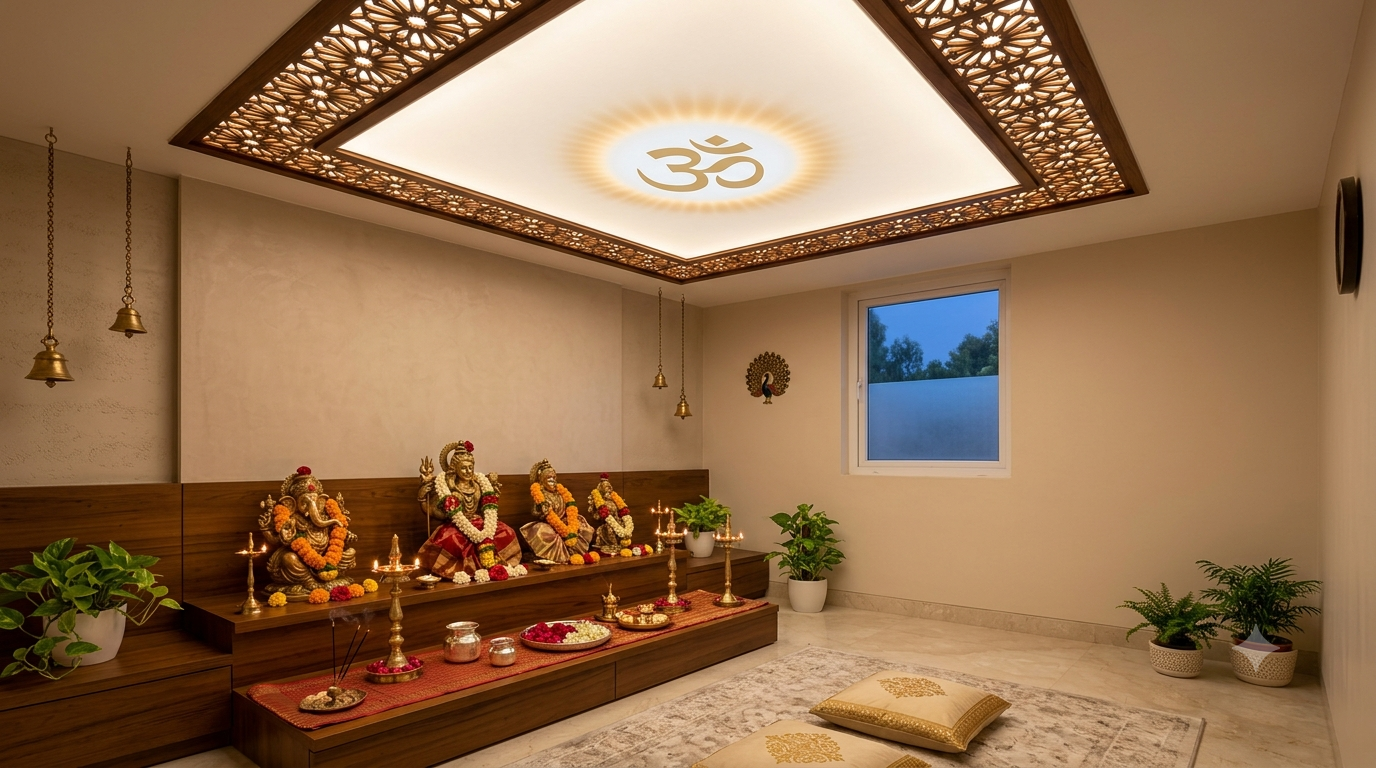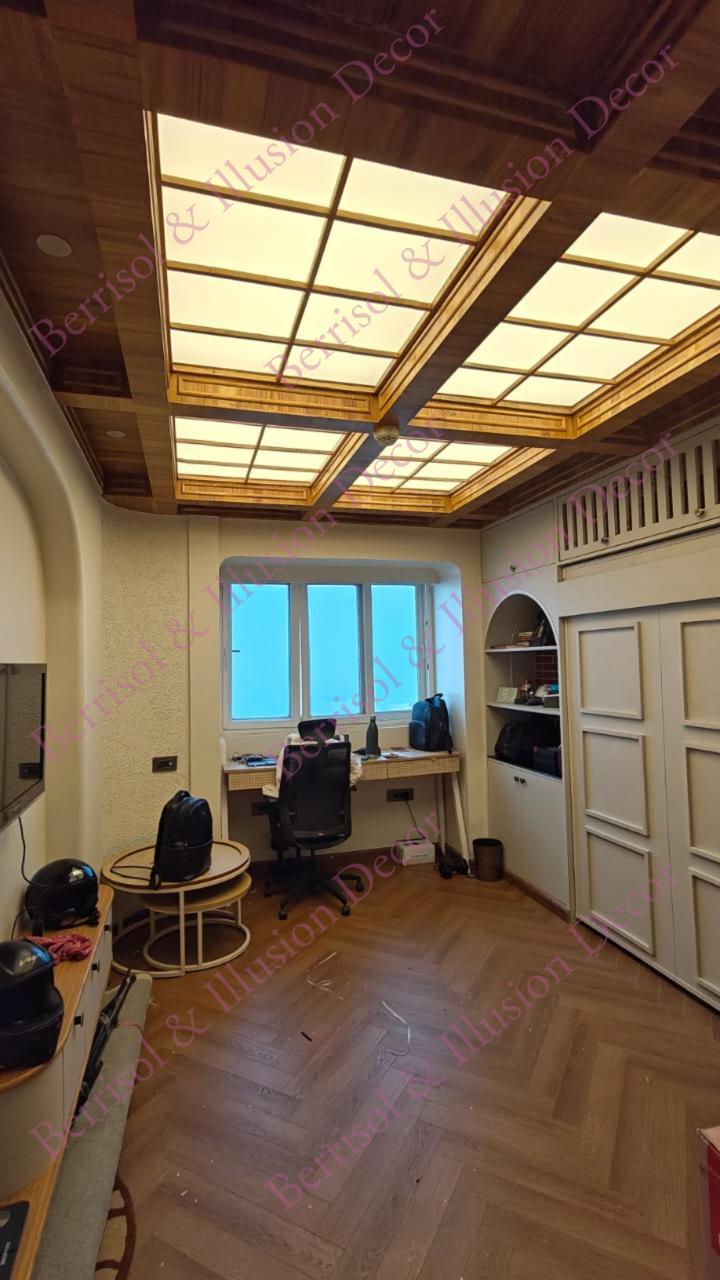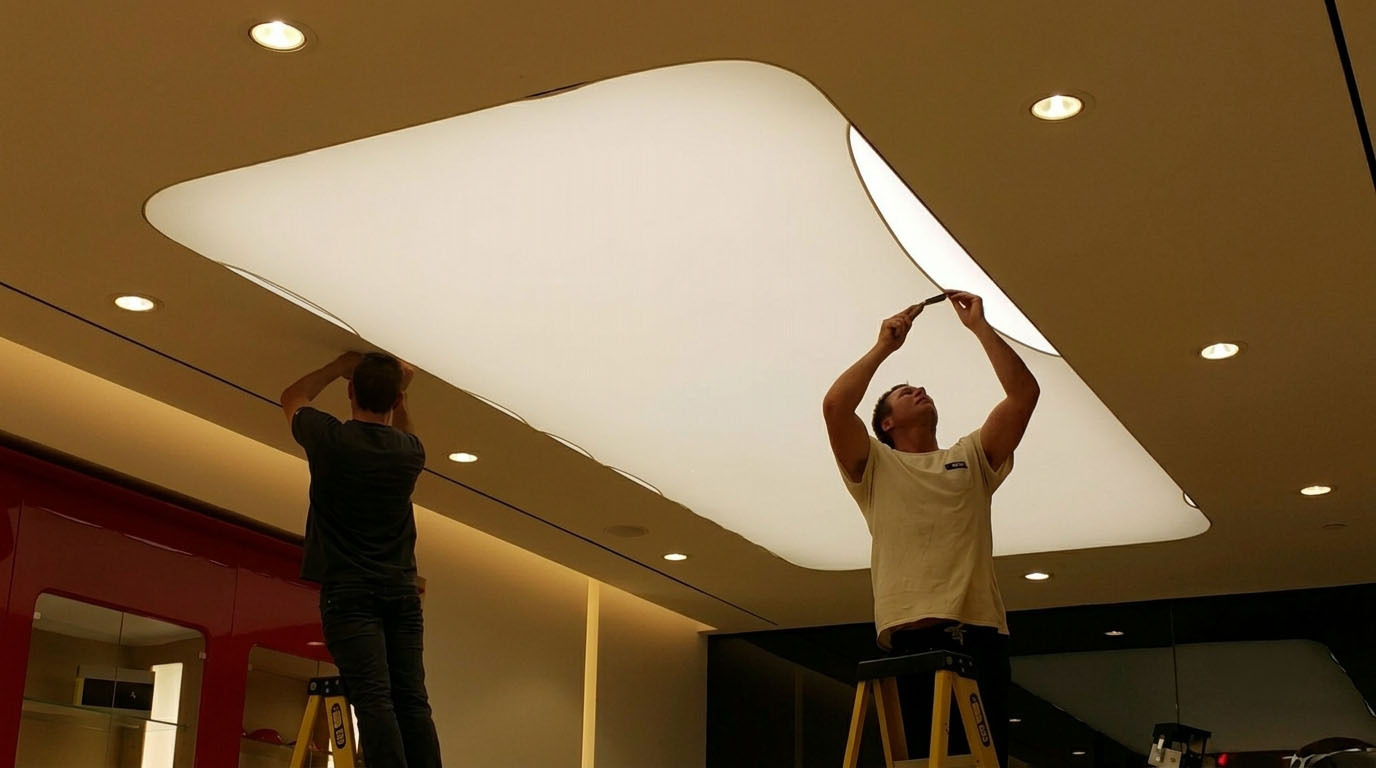
Stretch ceilings are a modern interior solution that can transform the appearance of homes, offices, hotels, showrooms and commercial spaces. They create a smooth, clean ceiling finish while offering design flexibility for lighting, colours, textures and printed patterns. However, achieving a neat and durable result depends on correct measurements, suitable materials and professional installation.
If you are planning a stretch ceiling installation in India, understanding the process can help you prepare your space, choose the right design and know what to expect from your installer.
At Berrisol & Illusion Decors, we provide stretch ceiling solutions for projects in Delhi NCR and across India. This guide explains how stretch ceilings are installed, what preparation is required, which factors affect the process and how to maintain the finished ceiling.
What Is Stretch Ceiling Installation?
Stretch ceiling installation involves fitting a specially manufactured ceiling membrane into a perimeter track fixed around the room. The membrane is stretched and secured within the track to create a smooth, finished surface beneath the original ceiling.
Depending on the selected system, the membrane may be made from PVC film or another compatible stretch ceiling material. The final design can be matte, satin, glossy, translucent, printed or integrated with lighting.
Unlike conventional ceiling work, stretch ceilings are installed using a dedicated track-and-membrane system. This allows designers to create clean finishes and distinctive effects without relying on traditional plastering and painting for the visible surface.
To understand the system and its applications in more detail, read our guide to what is a stretch ceiling.
What Should You Consider Before Installing a Stretch Ceiling?
Before installation begins, it is important to finalise the design and check the existing site conditions. Good preparation helps reduce avoidable delays and supports a better finish.
1. Choose the Right Stretch Ceiling Material
The right material depends on the purpose of the room, the desired appearance, the lighting plan and the specifications of the ceiling system.
Common options include:
Matte stretch ceilings: Suitable for understated interiors where a smooth, subtle appearance is preferred.
Glossy stretch ceilings: Reflect light and can create a brighter, more spacious visual effect.
Satin stretch ceilings: Offer a soft sheen between matte and glossy finishes.
Translucent stretch ceilings: Can be used with compatible lighting systems to create illuminated ceiling designs.
Printed stretch ceilings: Allow customised artwork, patterns, branding or decorative imagery.
Acoustic stretch ceiling systems: Specially designed systems may help manage sound when used with suitable acoustic backing and installation details.
The choice should be based on the intended use, the manufacturer's specifications and the design requirements. Explore our guide to different types of stretch ceilings before finalising your design.
2. Check the Existing Ceiling and Room Conditions
The installer should inspect the existing ceiling, wall junctions, electrical points, air-conditioning outlets, pipes and other services. Any loose material or issue that could affect the fixing system should be addressed before work starts.
In Indian buildings, site conditions can vary considerably. Older properties may have uneven surfaces, while new apartments and commercial interiors may have concealed wiring, recessed lighting or complex ceiling layouts. A site assessment helps identify these details in advance.
3. Finalise Lighting and Electrical Requirements
If the ceiling will include LED lighting, spotlights, pendant lights or illuminated panels, these requirements should be planned before the membrane is fitted.
The installation team should coordinate with the electrician to confirm the location of fixtures, wiring routes, compatible supports and access requirements. Heavy light fittings must be independently supported by suitable structural fixings rather than relying on the membrane alone.
4. Confirm Measurements and Design Details
Accurate measurements are essential because the membrane is manufactured to suit the dimensions and shape of the installation area. The installer should account for corners, recesses, columns, curves, changes in ceiling height and the positions of service openings.
The final design, finish, lighting layout and any printed artwork should be approved before manufacturing begins.
Stretch Ceiling Installation: Step-by-Step Process
The exact method can vary according to the membrane, track system and project design. The following steps describe a typical professional installation process.
Step 1: Inspect and Prepare the Site
The process starts with a detailed site inspection. The installer assesses the room dimensions, existing ceiling condition, wall surfaces, electrical points and any obstacles that could affect the work.
Furniture and other items should be protected or moved where necessary. The work area must be accessible, and any required electrical or building work should be coordinated before the membrane is installed.
The team also confirms the installation height. A stretch ceiling usually sits below the original ceiling, so the available clearance should be checked against lighting, wiring, ventilation and other services.
Why this step matters: Proper preparation helps prevent installation conflicts, unnecessary adjustments and avoidable damage to the finished surface.
Step 2: Take Precise Measurements
After the site inspection, the installer measures the room and records the ceiling layout. Measurements may include wall lengths, diagonals, corner positions, ceiling levels, recesses and the locations of fixtures.
For irregular rooms, curved sections or multi-level designs, additional measurements may be needed. These details help ensure that the membrane and perimeter track are suitable for the space.
A measurement error can lead to fitting difficulties or an uneven finish. For this reason, measurements should be checked carefully before the membrane is manufactured.
Step 3: Plan the Layout and Manufacture the Membrane
Once the measurements and design have been approved, the ceiling membrane is prepared to the system's specifications. The manufacturing process depends on the selected material and product.
At this stage, the installer should verify the finish, colour, printed design if applicable, and any requirements for lighting or special ceiling features.
The membrane should be handled and stored according to the manufacturer's instructions before installation. It must be protected from sharp objects, dirt and other potential sources of damage.
Important: Manufacturing and fitting requirements differ between stretch ceiling systems. The installer should follow the technical instructions for the exact product being used rather than assuming every membrane uses the same installation method.
Step 4: Fix the Perimeter Track
The perimeter track is secured to the walls or other approved supporting surfaces around the room. It provides the fixing point that holds the stretch ceiling membrane in position.
The installer checks the track alignment, corner joints and fixing points to help achieve a consistent ceiling level. The selected track and its fixings must be suitable for the substrate and the design load.
Where the room has curves, corners, columns or multiple ceiling levels, the track may need specialised profiles and careful detailing.
This stage is especially important because the quality of the track installation influences the alignment and appearance of the completed ceiling.
Step 5: Prepare Lighting, Wiring and Other Services
Before the membrane is fitted, the team coordinates any services that must sit above or pass through the ceiling. These may include wiring, light supports, ventilation components and other approved fittings.
Light fixtures should have suitable independent supports. Openings for lights or other ceiling accessories must be designed and prepared using the components and methods approved for the selected system.
For illuminated ceilings, the installer should also check the placement of LED sources and the required space between the light source and the membrane. This helps achieve the intended lighting effect and avoid unwanted bright spots or uneven illumination.
Electrical work should be completed by a qualified professional, with appropriate safety precautions and compliance with applicable requirements.
Step 6: Fit and Stretch the Ceiling Membrane
The membrane is attached to the perimeter track using the method specified for the selected system. Some systems require controlled heating of the room or membrane, while others use a different fitting method.
Where heating is required, trained installers use suitable equipment and follow the manufacturer's temperature and safety instructions. Heating should not be assumed to be necessary for every type of stretch ceiling.
The membrane is carefully worked into the track, with attention to corners, edges and the overall surface. The installer checks that it sits correctly and that the finished appearance is smooth and consistent.
This step requires appropriate tools, product knowledge and experience. Attempting to stretch or secure a membrane without understanding the system can cause damage or lead to an uneven finish.
Step 7: Install Lights and Finish the Details
After the membrane has been secured, the installer completes the approved finishing work. Depending on the design, this may include fitting compatible light fittings, finishing edges, checking accessory openings and completing the required trims or details.
Light fittings must be aligned with their supports and installed without placing inappropriate stress on the membrane. The team should check that all visible edges and transitions look neat.
For printed, glossy or translucent ceilings, careful handling is particularly important because marks, scratches or uneven lighting may be more noticeable on the finished surface.
Step 8: Inspect the Finished Ceiling
The final inspection checks the membrane, perimeter edges, lighting, accessories and overall appearance. The installer should look for visible creases, loose sections, damage, uneven finishing or other issues that need attention.
Lighting should be tested where included, and the team should verify that fittings and service components are functioning as intended.
The installer should also explain the recommended cleaning method, maintenance requirements and any product-specific limitations. Keep the manufacturer's care instructions for future reference.
A professional handover gives the customer a clear understanding of how to look after the ceiling and whom to contact if an issue arises.
How Long Does Stretch Ceiling Installation Take?
The installation time depends on the size of the room, the complexity of the design, site readiness, membrane type and the number of lighting or other integrated features.
A straightforward room may require less installation time than a large commercial space, a curved ceiling or a multi-level design. Manufacturing time, material availability and any required electrical or civil work can also affect the overall project schedule.
Ask your installer for a project-specific timeline after the site assessment. Confirm whether the quoted schedule includes measurement, manufacturing, installation, lighting coordination and final inspection.
Benefits of Professional Stretch Ceiling Installation
Professional installation helps ensure that the selected ceiling system is fitted according to its specifications and the requirements of the room.
Key benefits include:
A clean, consistent finish: Correct measurements and track alignment support a neat ceiling appearance.
Design flexibility: Different finishes, colours, prints and lighting arrangements can suit a wide range of interiors.
Integration with lighting: Compatible stretch ceiling systems can be designed around spotlights, LED lighting and illuminated features.
Suitability for different spaces: Depending on the product and design, stretch ceilings can be used in homes, offices, hotels, retail interiors and other commercial environments.
Planned installation: A site inspection and coordinated installation process can help reduce avoidable delays and fitting issues.
Product-specific guidance: An experienced installer can explain material selection, maintenance and limitations before work begins.
The final performance depends on the membrane, supporting system, site conditions and quality of installation. Always confirm product specifications and suitability for your intended application.
Where Can Stretch Ceilings Be Installed?
Stretch ceilings can be considered for a variety of residential and commercial spaces, subject to the selected product's specifications and the conditions of the site.
Homes and Apartments
In living rooms, bedrooms, dining areas and selected other spaces, stretch ceilings can introduce a smooth finish or a decorative feature. Matte finishes can suit understated interiors, while glossy or illuminated designs may be used to create a stronger visual effect.
Offices and Corporate Interiors
A well-planned stretch ceiling can complement reception areas, meeting rooms and workspaces. Lighting and ceiling details should be coordinated with the office's functional requirements and maintenance needs.
Hotels, Restaurants and Retail Spaces
Hospitality and retail interiors may use printed, coloured, glossy or illuminated ceilings to support a particular design theme. The chosen system should be suitable for the environment and comply with relevant project requirements.
Showrooms and Commercial Projects
Stretch ceilings can provide a consistent design finish across display areas, reception spaces and selected commercial interiors. For larger installations, the design should account for lighting, access, service coordination and the practical requirements of the building.
You can explore our stretch ceiling project gallery for visual inspiration and examples of different ceiling styles.
Common Stretch Ceiling Installation Mistakes to Avoid
Even a high-quality membrane can produce disappointing results if the installation is poorly planned. Common issues include:
Inaccurate measurements: Incorrect dimensions can affect the fit and overall finish.
Unsuitable track fixings: The track and fixings must match the supporting surface and system requirements.
Poor lighting coordination: Incorrectly positioned light sources or unsupported fixtures can compromise the design and finish.
Ignoring site conditions: Uneven surfaces, concealed services and insufficient clearance should be assessed before work begins.
Using the wrong cleaning products: Abrasive materials or unapproved chemicals may damage the membrane.
Skipping the final inspection: Checking the ceiling before handover helps identify finishing issues while the installation team is still on site.
Choosing an experienced installer and following the product's technical instructions can help reduce these risks.
How to Maintain a Stretch Ceiling After Installation
Stretch ceilings generally require straightforward care, but cleaning methods vary by membrane and finish. Follow the manufacturer's maintenance instructions for your specific system.
Remove light dust using a soft, clean cloth or another approved method.
Use only cleaning products recommended for the membrane.
Avoid sharp objects, abrasive pads and aggressive scrubbing.
Do not press, pull or puncture the ceiling surface.
Arrange professional help if the membrane becomes loose, damaged or visibly deformed.
Contact a qualified professional before making changes to lighting or other fittings integrated with the ceiling.
Do not assume that every stretch ceiling is waterproof, fire-rated, acoustic or suitable for every room. Confirm these properties against the specifications and certifications of the product selected for your project.
Plan Your Stretch Ceiling Installation with Berrisol & Illusion Decors
A successful stretch ceiling installation starts with the right design, accurate measurements and a clear understanding of the site. From choosing a suitable membrane to coordinating lighting and checking the final finish, each stage contributes to the quality of the completed ceiling.
Berrisol & Illusion Decors provides stretch ceiling solutions from Okhla Phase 1, New Delhi, serving clients across Delhi NCR and Pan India. Whether you are planning a residential renovation, a new office interior or a commercial design project, our team can help you explore suitable options for your space.
Ready to discuss your ceiling design? Contact our team to arrange a site assessment and discuss your requirements.
Ask about a site visit, suitable ceiling finishes, lighting integration and the installation approach for your project.